WordPress
1. What is WordPress?
◆ WordPress is an open-source software written in PHP (Hypertext Preprocessor) and uses the MySQL database management system. WordPress was first released on May 27, 2003 by its authors Matt Mullenweg and Mike Little. Currently, WordPress is owned and developed by Automattic, a company based in San Francisco, California, USA.
◆ WordPress is an open-source PHP-based software designed to support personal blogs, and it is widely supported due to its ease of use and many useful features. Over time, the number of users increased, and many developers have contributed to adding amazing features to the WordPress codebase. As of 2017, WordPress is seen as a superior content management system (CMS) supporting various website types such as blogs, news/magazine websites, business showcases, e-commerce, and even more complex sites like hotel booking, car rentals, real estate projects, and more. Almost all small and medium-scale websites can be deployed on WordPress.
◆ However, this does not mean WordPress is only suitable for small projects. Currently, about 25% of the top 100 websites in the world use WordPress. Examples include well-known sites like TechCrunch, Mashable, CNN, BBC America, Variety, Sony Music, MTV News, Bata, Quartz, and many more.
2. Steps to Install WordPress (XAMPP on Windows)
Step 1: Download WordPress Source from WordPress.org
◆ First, download the latest version of WordPress from the address https://wordpress.org/latest.zip.
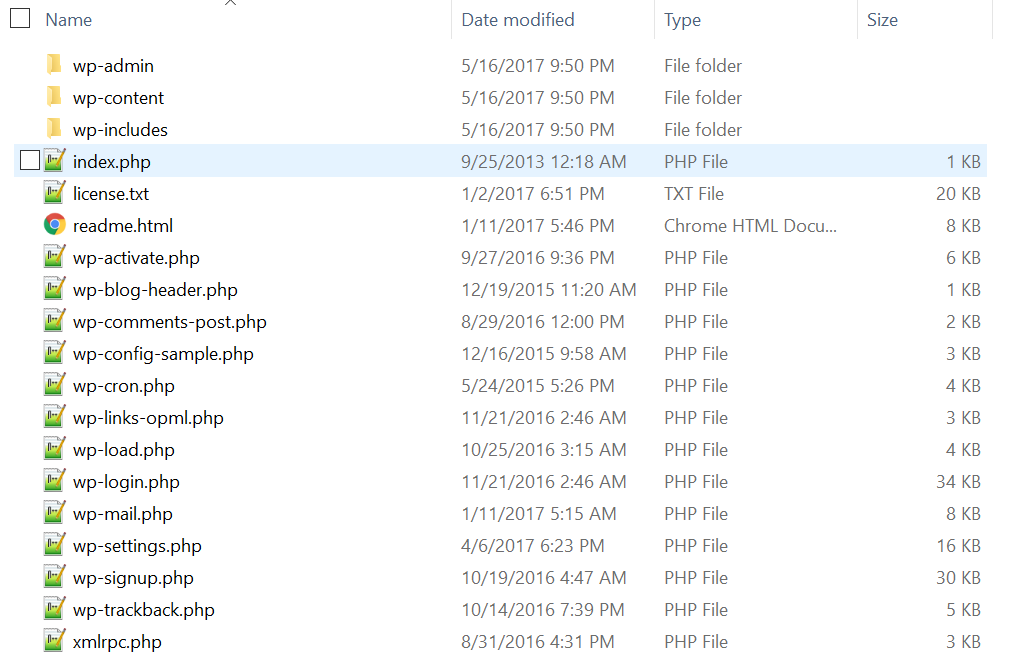
◆ After downloading, extract it and you will have a folder named “wordpress“. This folder might be nested inside another folder named wordpress-x (where x is the version number), but basically, you will have a folder named wordpress as shown below.
![]()
◆ Next, go to the wordpress folder, and you will see several subfolders named wp-admin, wp-includes, wp-content and some files named index.php, wp-config-sample.php, etc. All these files and folders are the WordPress source code.
Step 2: Copy WordPress Source to Localhost
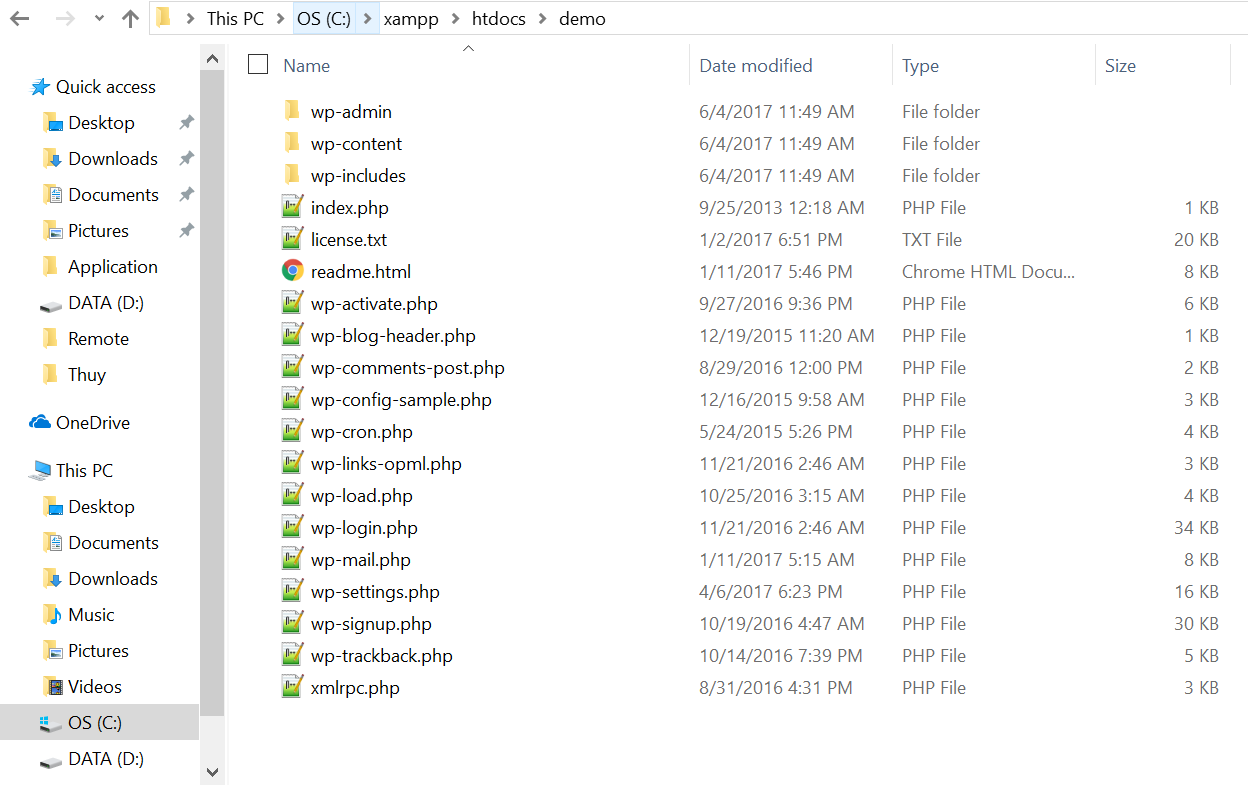
◆ Now, copy all the files and folders to your website folder on localhost, for example: C:\xampp\htdocs\demo. That means you only copy the files and folders of the WordPress source, not the whole wordpress folder, because we want to install WordPress on the domain https://localhost/demo. If you copy the entire wordpress folder, your website URL will be: https://localhost/demo/wordpress/.
Step 3: Create a New Database
◆ To run WordPress, your localhost must have a MySQL database to store data like posts and settings.
Step 4: Run the Website for Installation
◆ After copying, open the XAMPP control panel and start Apache and MySQL. Then access the website using the path https://localhost/demo.
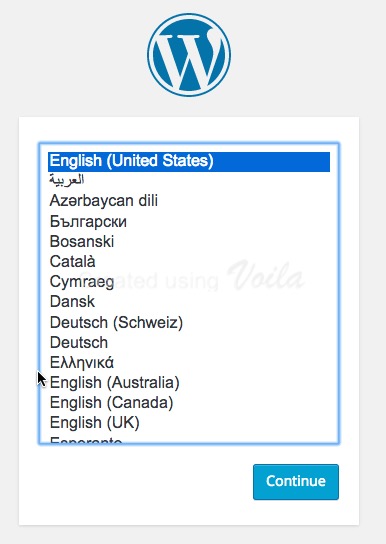
◆ At this point, the language selection screen for WordPress will appear. Choose English and click Continue.
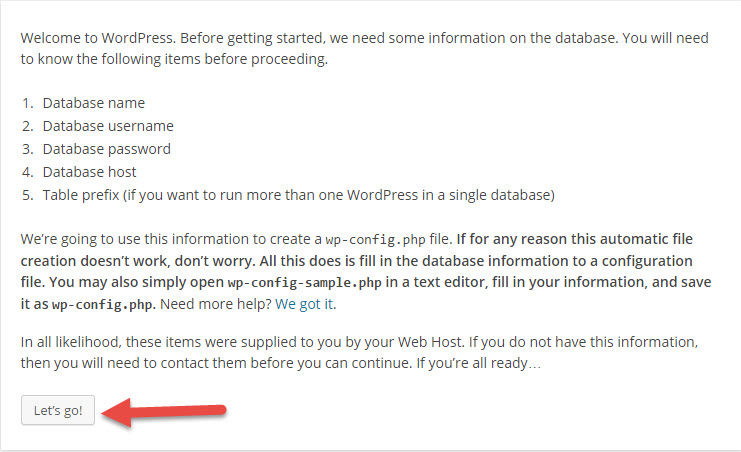
◆ In the next step, it will remind you that you have not yet renamed wp-config-sample.php to wp-config.php and provided the database information. Click Let’s Go to let it do this for you.
◆ Now enter the database information.
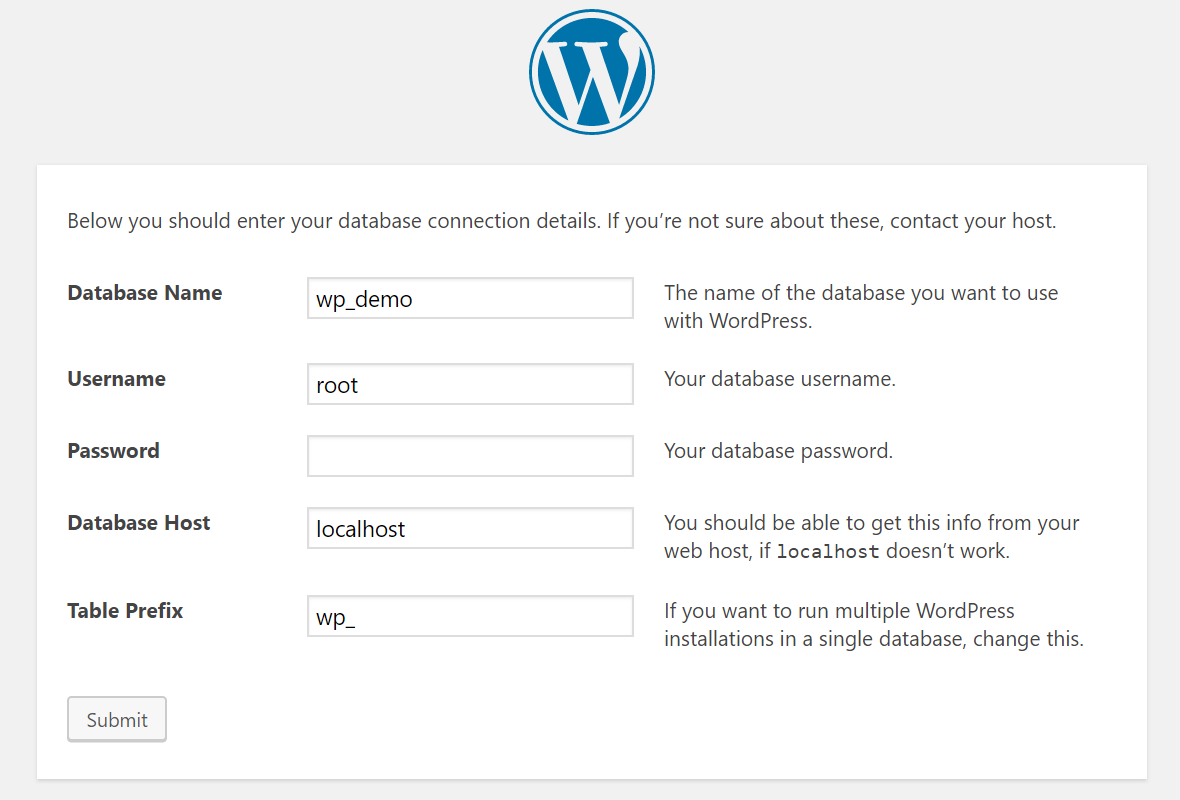
◆ Always remember that on localhost, the User Name for the database is always root, with an empty password (although you can set a password, but it’s not necessary), and the Database Host is always localhost.
◆ Table Prefix refers to the prefix for the database containing WordPress data, by default, it is wp_. You can change it to anything, but it must have an underscore (_) at the end.
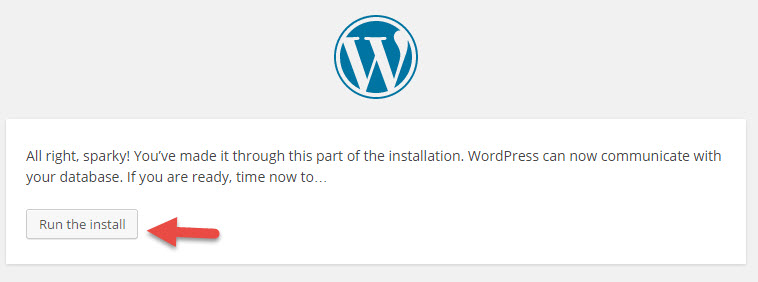
◆ After entering the database information, click the Submit button to proceed. If the next screen shows like the one below, it means you’ve entered the correct database information. Click Run the install to begin the installation.
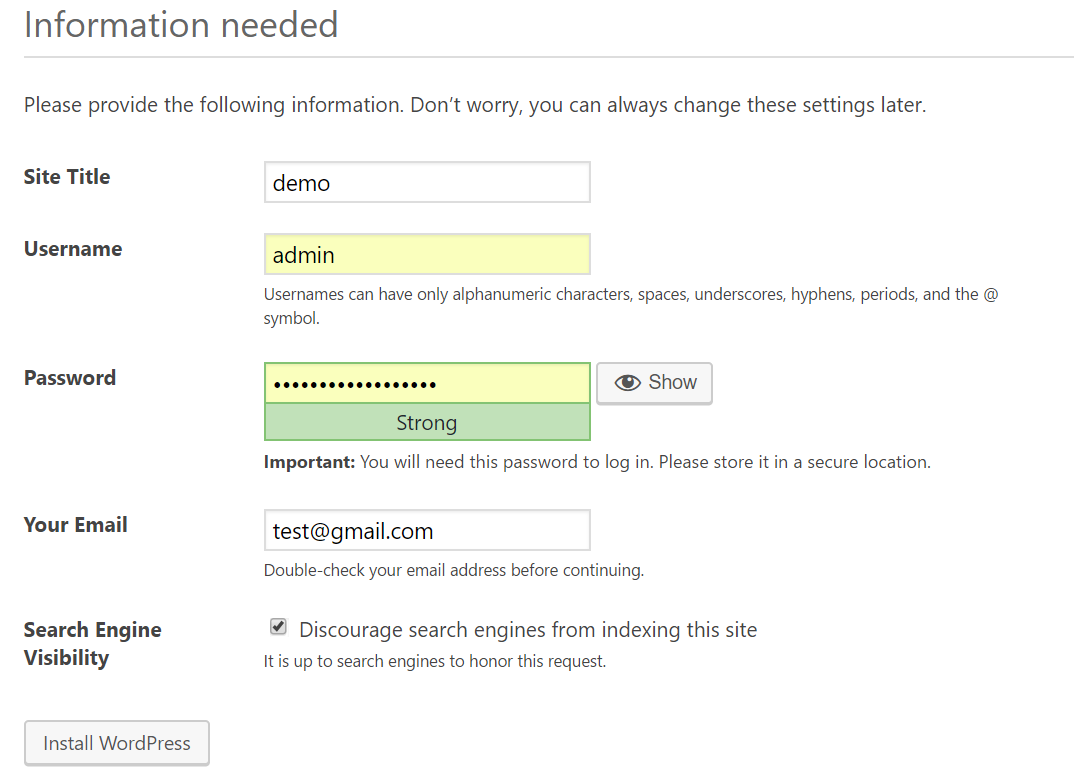
◆ In this step, you’ll need to set up important details for the website like the website’s name, the admin username and password, etc. After entering the information, click the Install WordPress button.
◆ If it shows Success! like this, you have successfully installed WordPress. Click the Log in button to log into the WordPress admin dashboard.

APPLY NOW
Benefits

RiverCrane Vietnam sympathizes staffs' innermost feelings and desires and set up termly salary review policy. Performance evaluation is conducted in June and December and salary change is conducted in January and July every year. Besides, outstanding staffs receive bonus for their achievements periodically (monthly, yearly).


Activities such as Team Building, Company Building, Family Building, Summer Holiday, Mid-Autum Festival, etc. will be the moments worthy of remembrance for each individual in the project or the pride when one introduces the company to his or her family, and shares the message "We are One".